Hello hello ! SO, my new passion for knitting is no longer a secret :). And I recently knitted baby mittens that were just too cute and frankly, I had to share with you this creation. So that’s it, here is my first free knitting pattern! Serious stuff, haha. A free knitting pattern for you to knit baby mittens. Cute, quite simple, and quick, for beginners & intermediate knitters ! Ready ?
Free knitting pattern : cute baby mittens
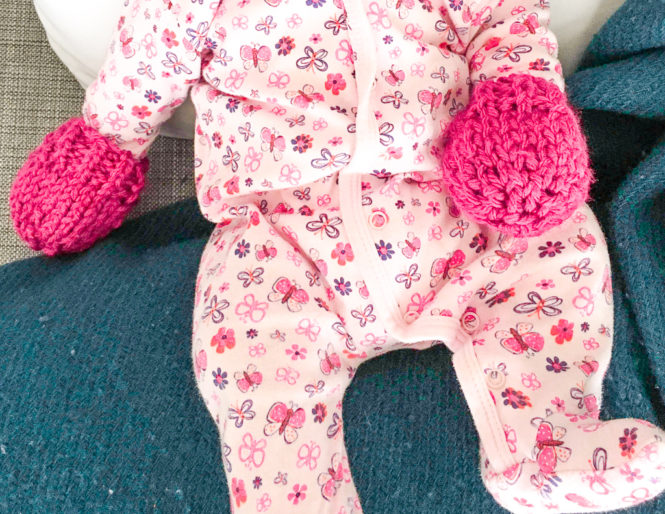
One of my friends just gave birth <3. So much happiness, a new life that begins. So beautiful. Well, actually TWO lives because the lucky lady had twins. A girl and a boy. So I wanted to put my new passion for knitting to work in order to make a unique little gift, and I knitted adorable little mittens for her two babies. A pair of mustard yellow mittens for the little guy, and a pair of pink fuschias for the little girl. Or to switch, huh! It’s how she wants!
So, what’s funny is that after several tests with existing tutorials I found on the web, I rather gave up to create my own ones. I had either a wool that was too thick, or not the right needles so I dropped and I did “my own stuff”. And the result is too cute, in addition to being easy and quick (about 2 hours per pair).

Here is the tutorial (beginner – intermediate level):
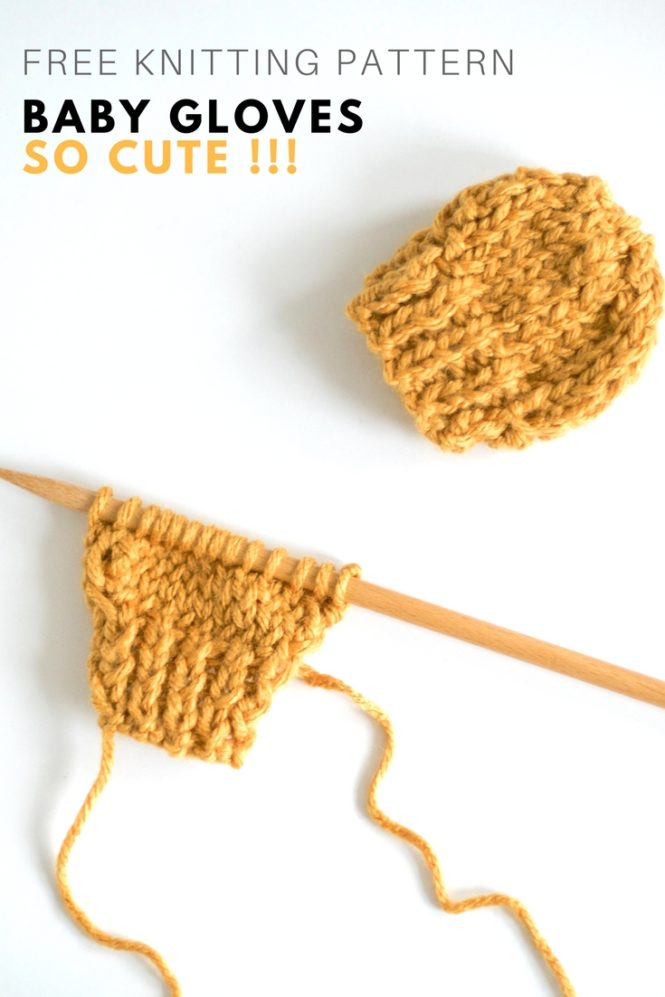
To make these baby mittens you need 8mm needles, and 6mm wool. Preferably acrylic or cotton, which does not irritate the skin of babies (unlike the wool they tend not to support).
- Cast on 10 stitches onto one of the wooden needles
- Work 5 rows in odd rib stitch (one knit stitch, one purl stitch alternately during the whole row)
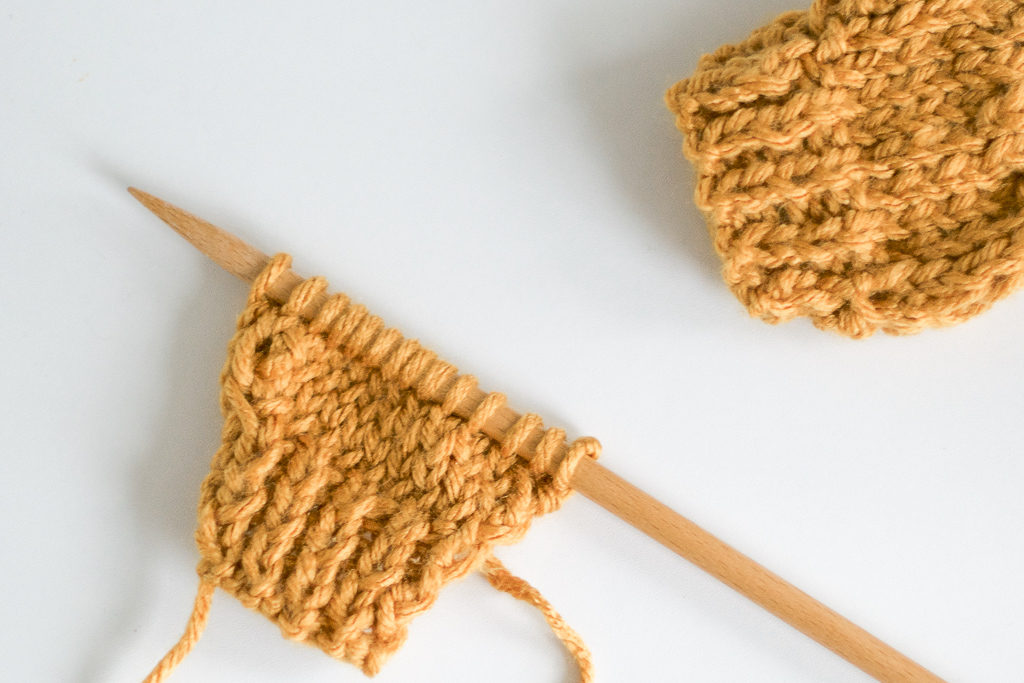
- Work 4 rows in stockinette stitch (one row even rib stitch, one row odd rib stitch) making only on the two even rib stitch rows two increases (one after the first stitch, one before the last one). At the end of those rows you’ll have 14 stitches.
- Knit the next 2 rows in stockinette stich without any increase
- Again, knit 4 rows in stockinette st. On each even rib stitch row, make 4 decreases wherever you want. At the end of these 4 rows you will have 6 stitches.
- Put the thread through the stitches and close.
- Repeat the steps to knit two equal parts, and assemble them with a special sewing needle.
I hope you enjoy this tutorial! And that you will be able to make, just like me, nice gifts to the new moms around you or to your own little creatures 🙂
* Happy knitting ! *