
HOME MADE FLOWER CROWN : THE GUIDE STEP BY STEP
So, let’s go … let’s create the most beautiful and natural flower crown ever! Only negative point : it’s very ephemeral 🙁 . Of course as it’s real flowers, you’ll wear it one day and then, it will be over. But that’s also what makes it so special, isn’t it ? And if you have a creative sense and you love making beautiful things, it’s so worth it! And you will have beautiful photos ! 😉
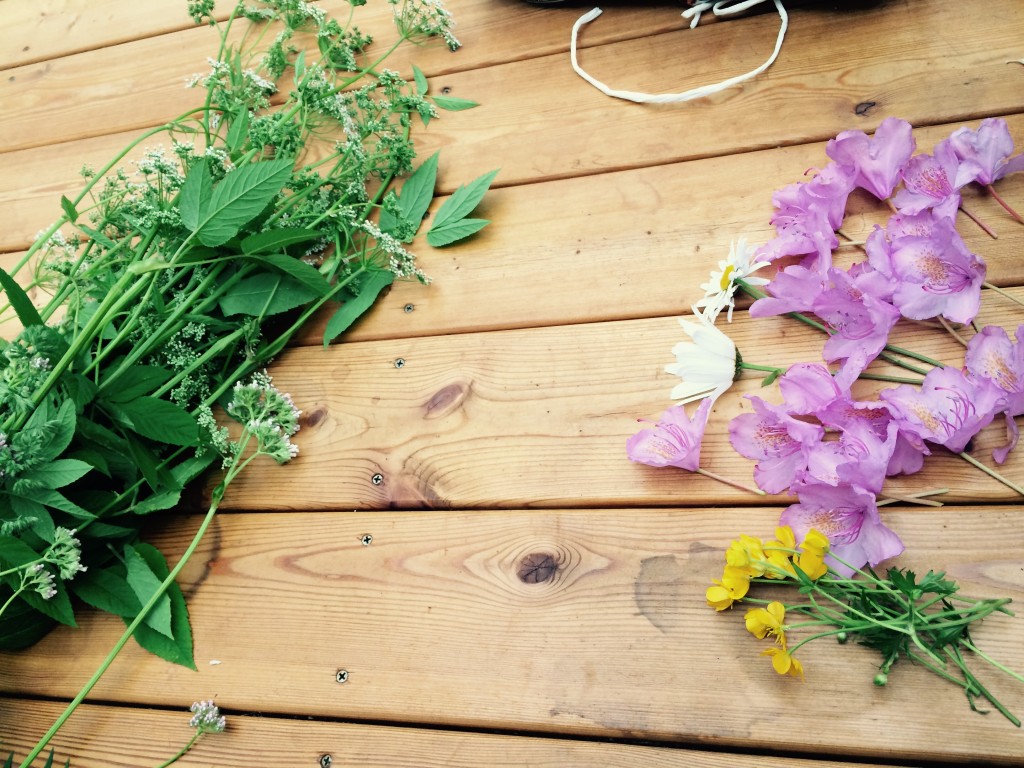
WHAT YOU NEED TO BUY / GET BEFORE YOU START YOUR FLOWER CROWN
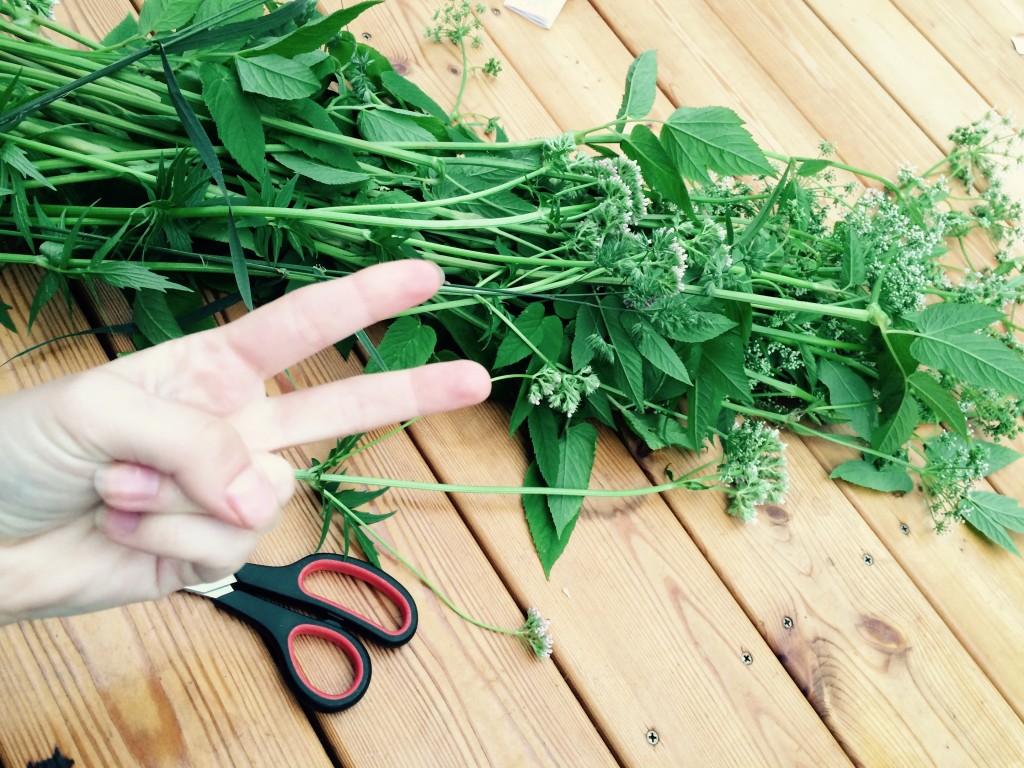
STEP 1 : CLEAN YOUR FLOWERS STALKS (10 MN)
Start by cleaning the long flower stalks we’ll use for the base. You should keep the flowers at the end, but maybe you can remove some leaves along the stalks so your basis won’t look messy.
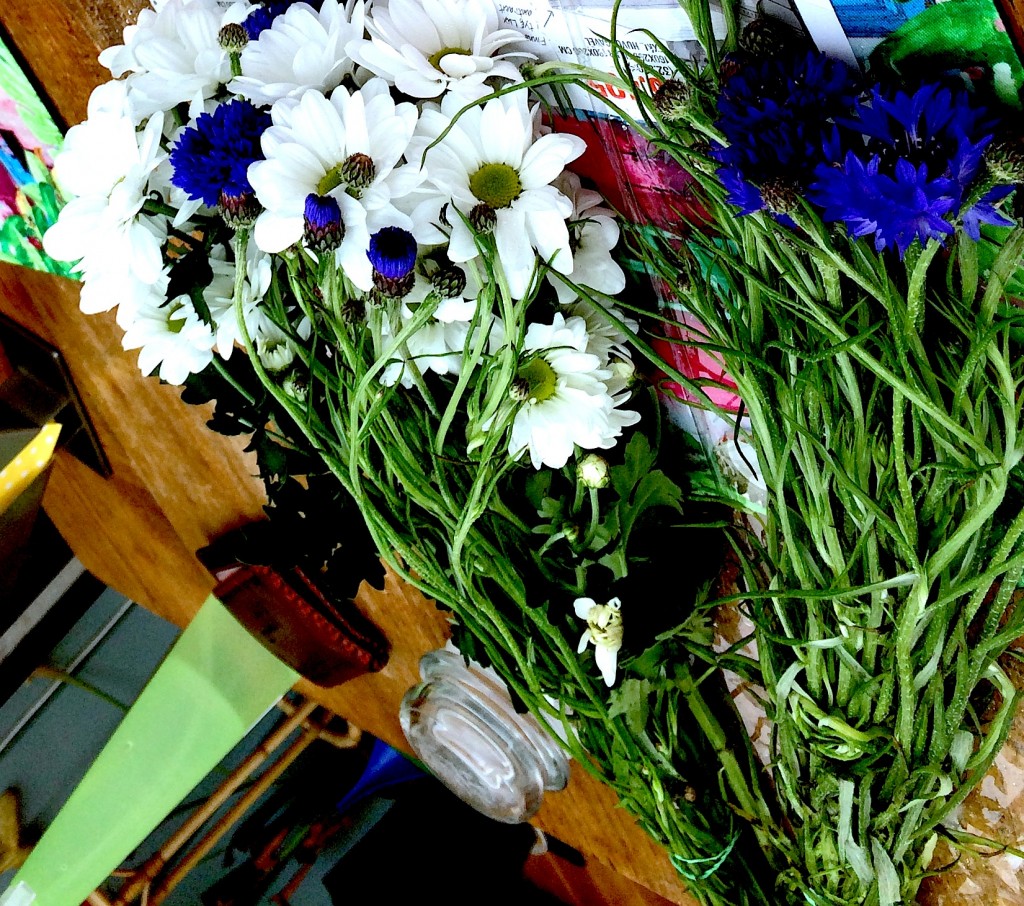
STEP 2 : CREATE THE BASIS (30 MN)
Here it’s as you want. Either you create a basis only with flower stalks, or you use some wire to help it.
If you use wire : create a wire circle taking your head dimensions. It needs to rest on top of your head (not too loose so it doesn’t fall off, not too tight so the flowers won’t be crushed). Then use the flower stalks around it, and tape them together (or use a bit of wire to fix them together). If you use wire make sure you fold the extremities inside the basis so it won’t hurt your head.
I you don’t use wire (what I did) : just create a flower stalks circle, using many stalks and using tape or wire to fix them together.
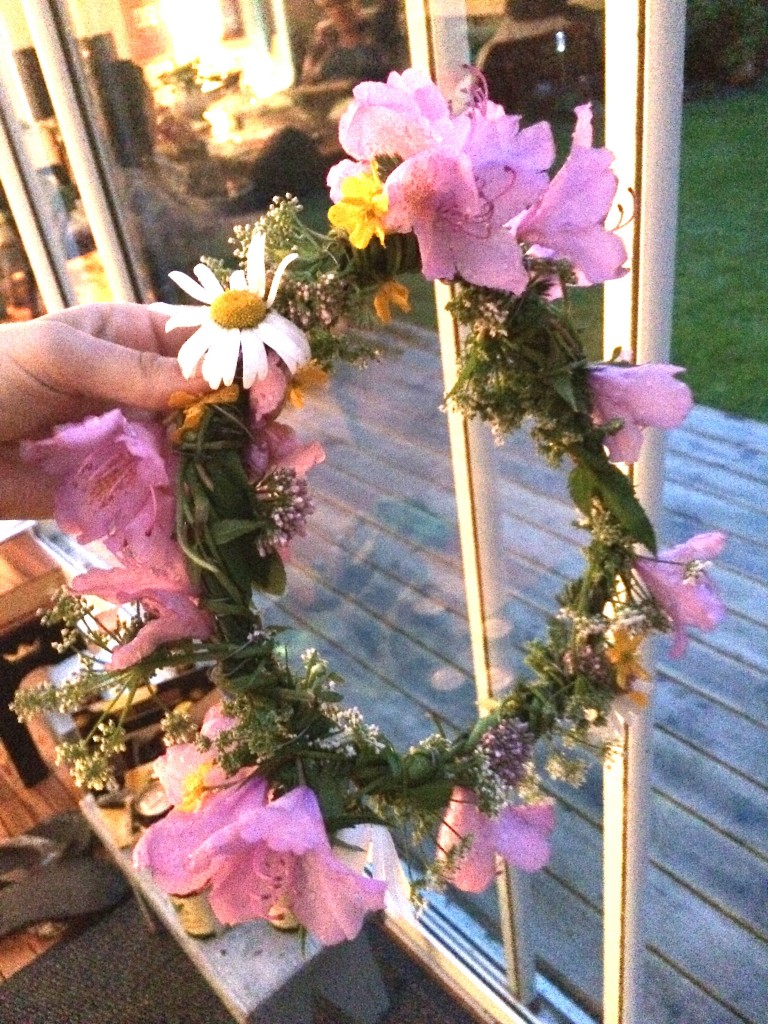
You should end with this kind of result. A lot of stalks tight together as a circle, and some flowers at the end. For now it looks a bit messy but it will look way more beautiful as soon as you will start adding the flowers.
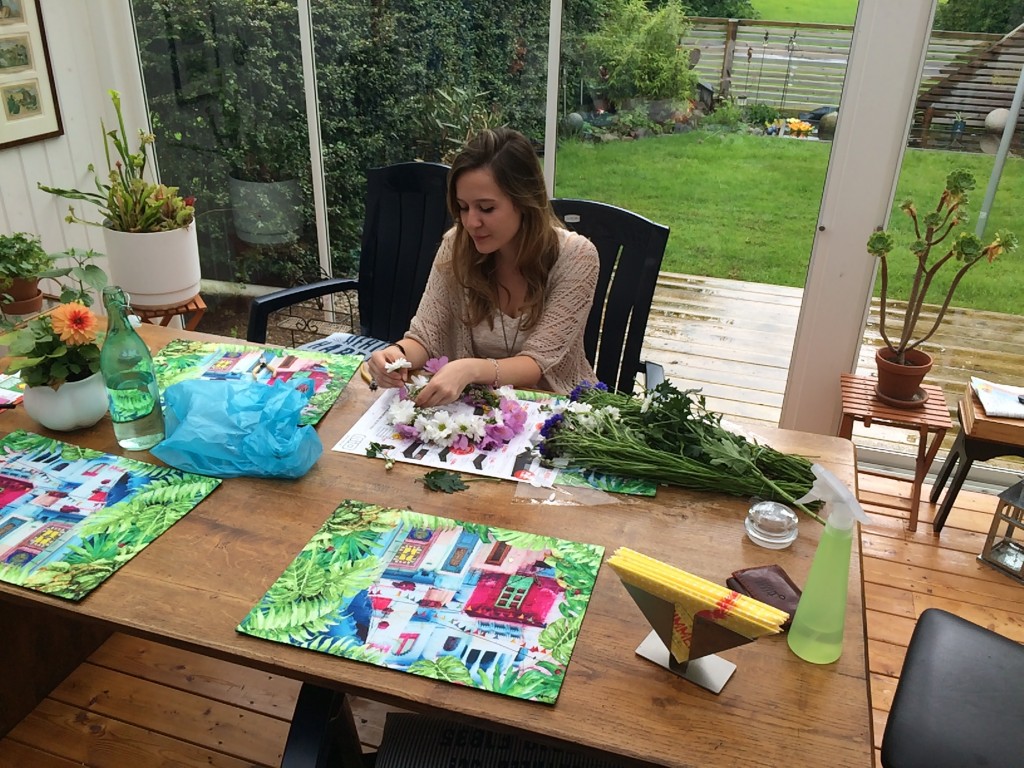
STEP 3 : PREPARE YOUR FLOWERS (15 MN)
Now it’s time to prepare your beautiful, bigger flowers. Cut the stalk around 5 cm from the flower. Make sure you do this with a lot of caution so you don’t damage your beautiful flower. Do this for all your flowers, and keep them for later.
STEP 4 : ADD YOUR FLOWERS INTO THE BASIS. (30 MN)
You just need to insert the 5cm short stalk of each flower in the basis, making sure that it’s stuck Inside. If you feel that it needs some help so it doesn’t fall, use some tape or some wire. Here again, you use wire, make sure you fold the extremities Inside the basis so it won’t hurt your head.
Do this for each flower until your crown looks beautiful and finished. And here you go!!!
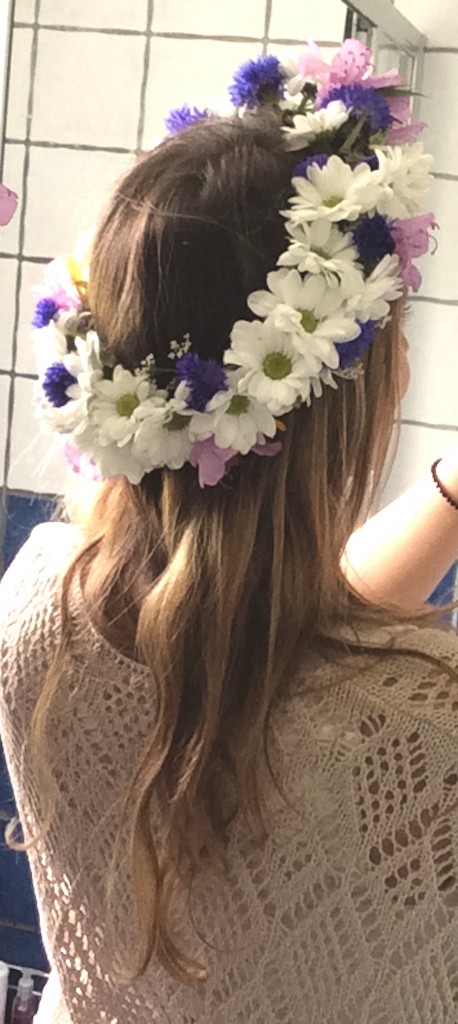
If you wear it now, just enjoy !
Personnaly, I made it in two steps : the ay before in the evening (Steps 1 and 2) and in the morning on the D-Day (Steps 3 and 4) for an event in the afternoon. The stalks are less fragile.
I hope you make a beautiful crown ! And you spend a lovely moment that will make you proud of your creative talents 😉
If you create one please send me your picture in the comments below or on the left of the title. Or by email (you can find it in contact). I can post them on my blog if you want 🙂 or just be happy to see what you’ve done!