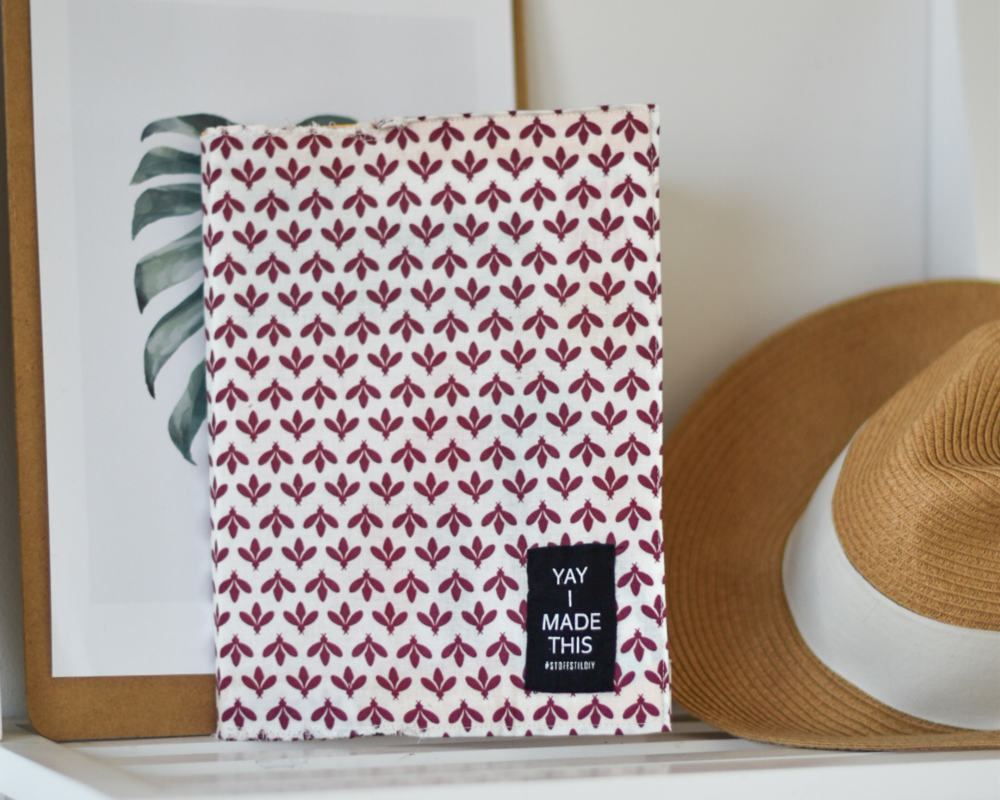
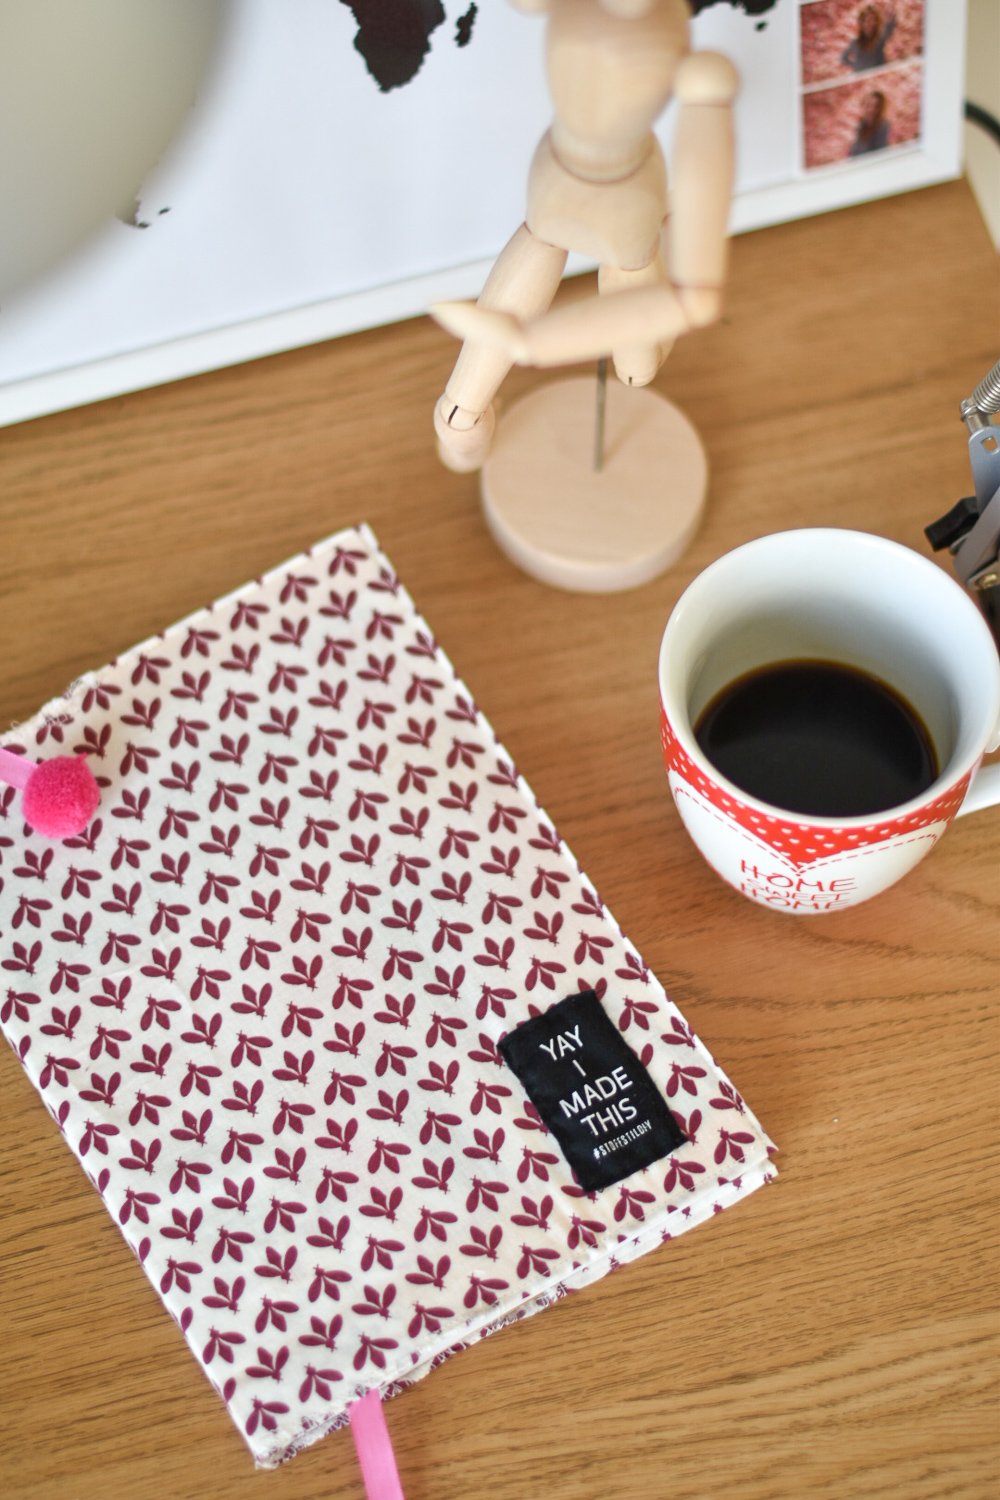
Fall is back! Which means that the creative season begins! When the temperatures get cooler, we stay a lot more at home, and this encourages us to do more manual activities. Knitting, sewing, drawing, embroidery, painting, and so on, are hobbies that fit the season. Don’t you agree? This weekend, I made a DIY fabric book cover to customize a nice diary offered by my sweet mom in September. I am very happy with the result and share with you the procedure for those who would like to do the same for their books & diaries this fall.
DIY fabric book cover
You’ll need :
- a square of fabric of your choice. It must be big enough to cover your entire book. I advise you to bring your book with you to the haberdashery, so you can try on the spot.
- your usual sewing material (thread, sewing machine or needle if you do a hand project, sewing chalk, scissors, pins …).
- small details if you wish. For example in my project i’ve used a ribbon and a pompon for the page mark and a “YAY, I made this!” label.
How to make it :
I didn’t make a template to print, because your project and its dimensions will depend on the size of your book.
But the process is rather simple. I will try to make it as clear as possible. If everything isn’t clear, do not hesitate to ask me your questions in a comment or directly on my instant Instagram (my account is @plumedaure). I will answer you quickly!
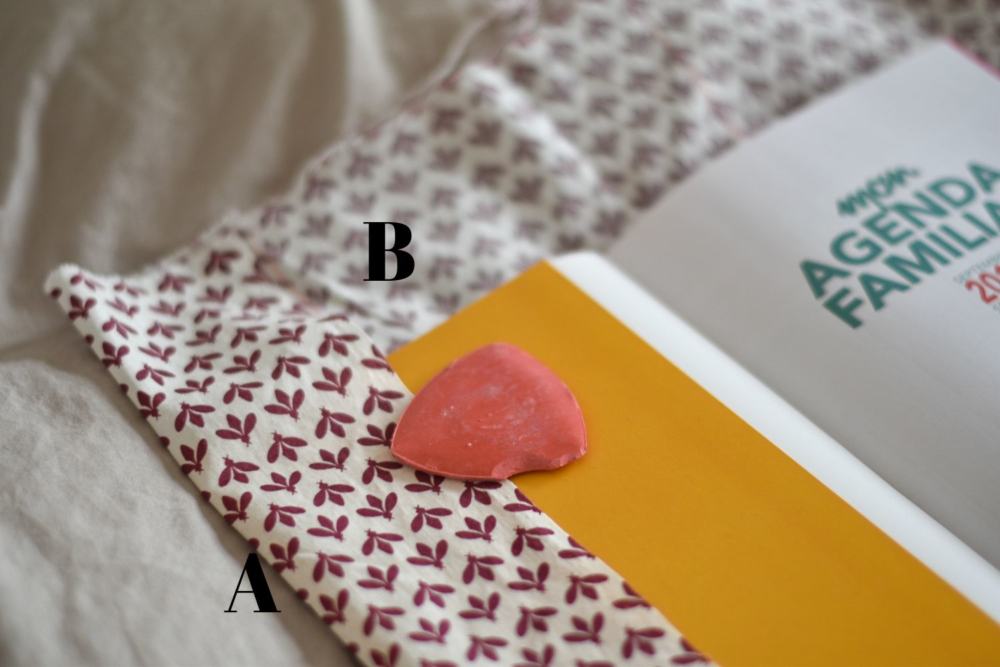
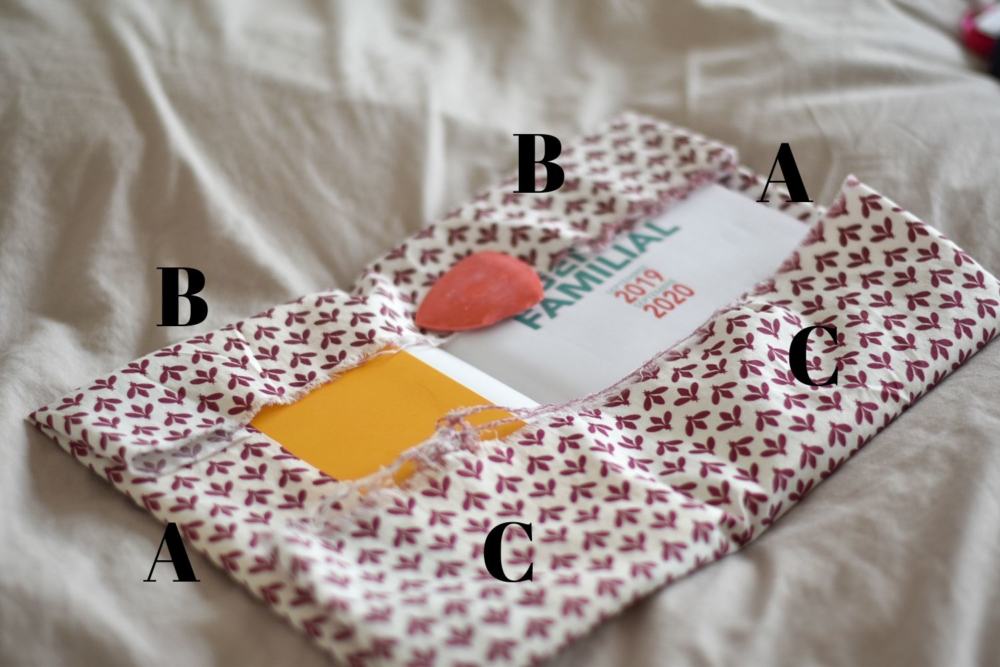
- As in the photos above, I folded my square in the shape of the cover I’m going to make.
- Once done, mark your fabric around your book with chalk, so you know where to sew the pieces together.
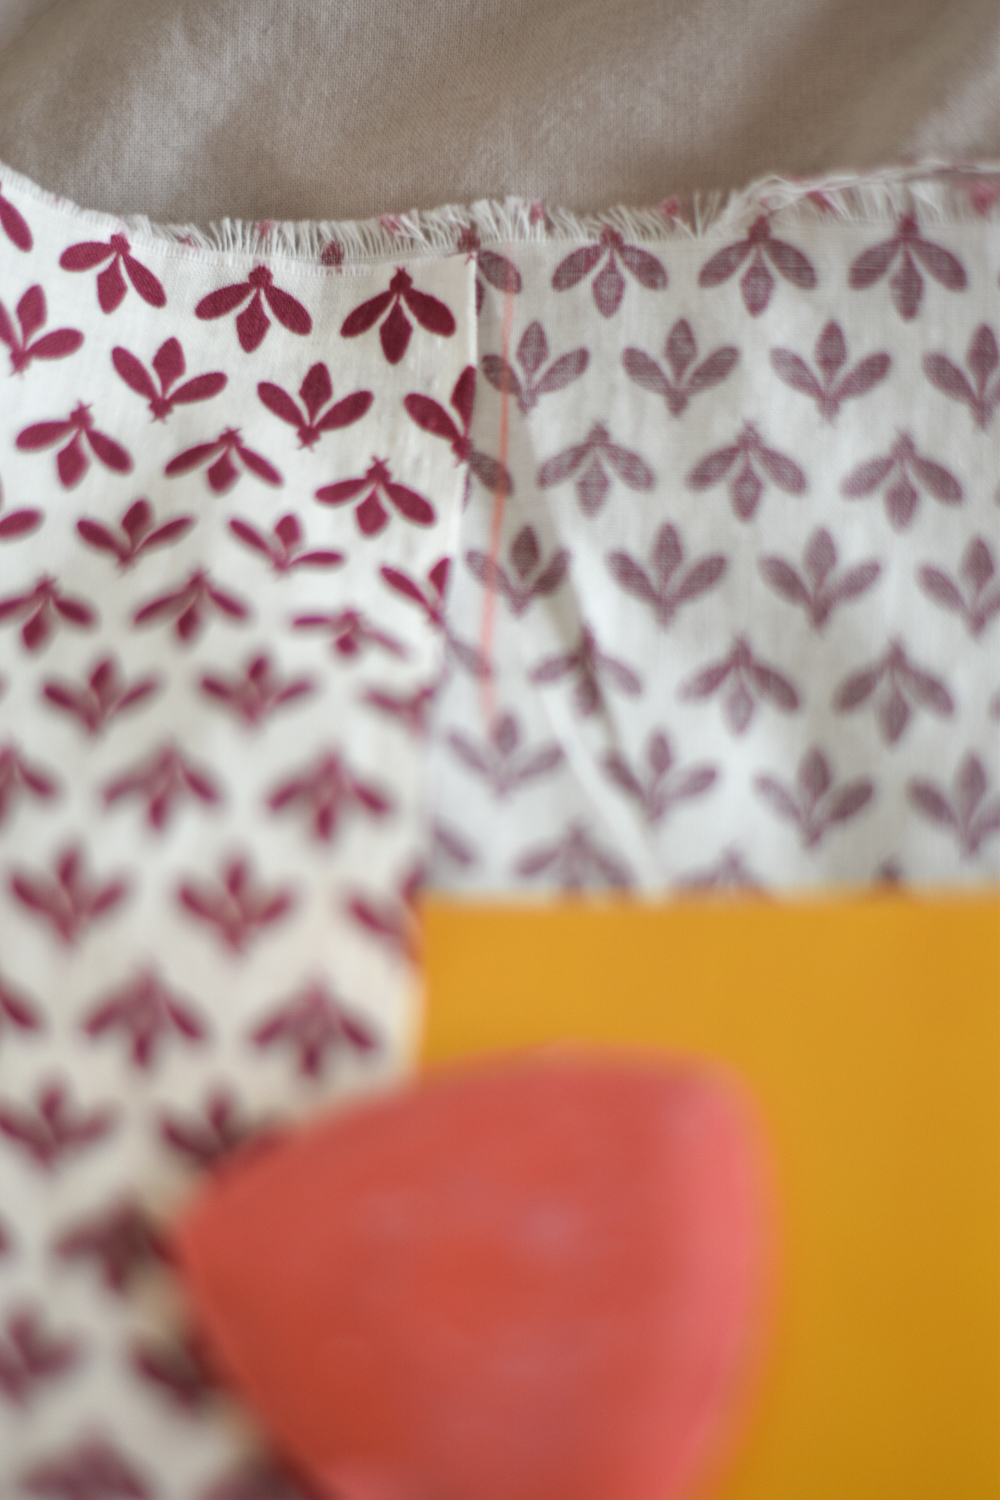
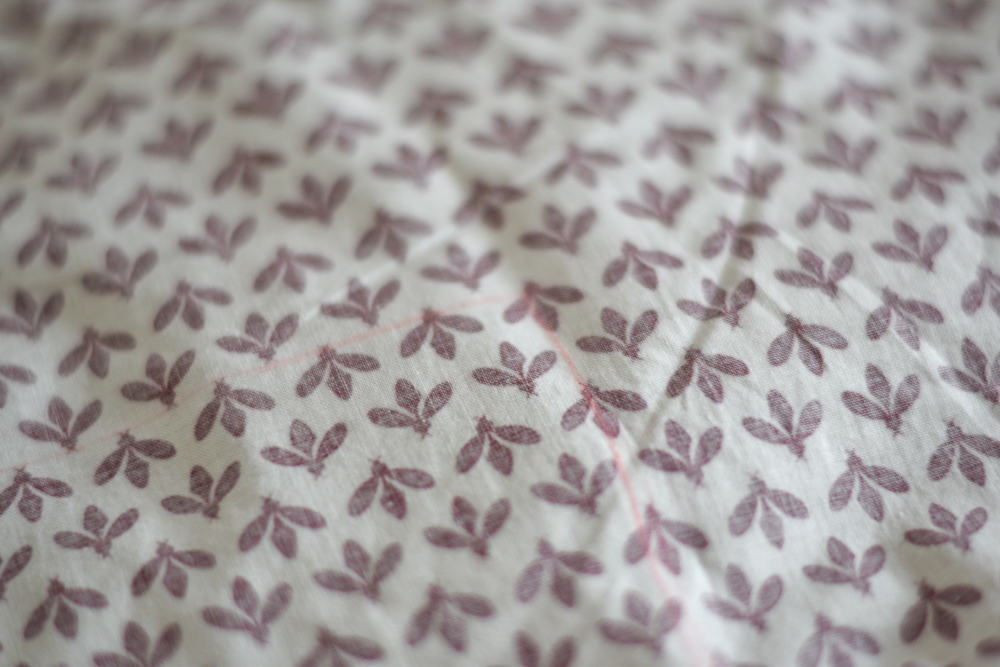
- And now, it’s time to sew. What I advise you to is to overlock all the pieces of cut fabrics (for a cleaner result). Then, once you have all the chalk lines drawn, you fold your book cover, but without the book in it. Then you just have to sew a big square (all the outside of your book cover) to hold the folds together.
- Once done, cut off the excess of parts B and C (which prevent you from slipping your book into the cover). And overlock the edges to keep a clean and well-finished result. Simple and effective, your coverage is over.
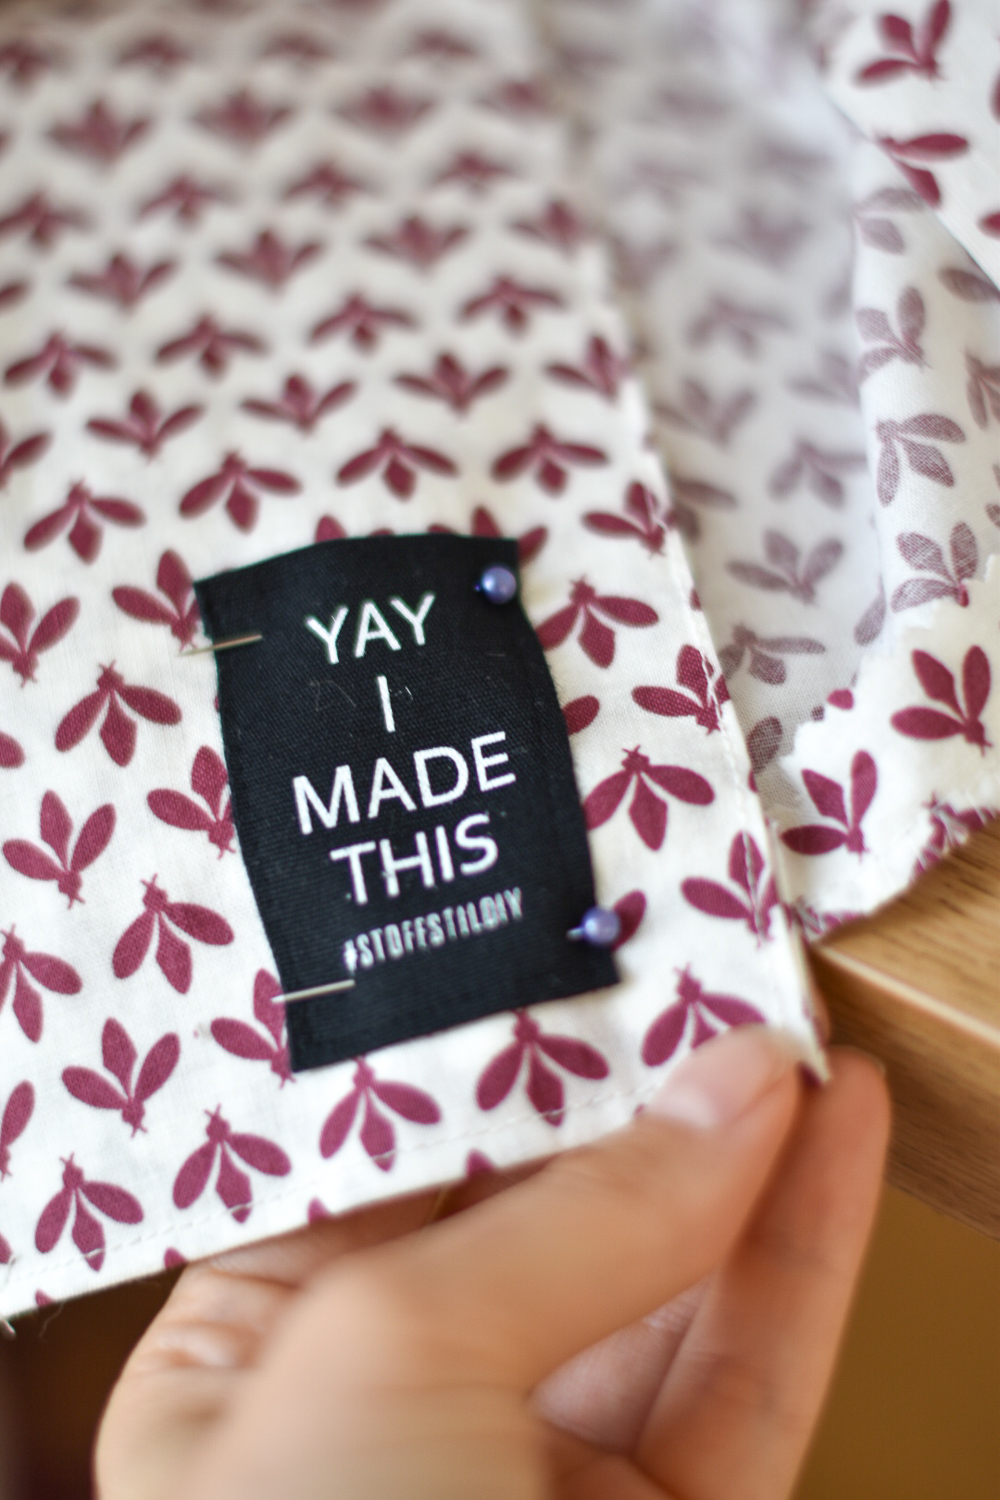
- You can then add your little extras if you want to. For example, a label (be careful not to sew through the whole thickness, but just the first level of fabric, otherwise you can not get your book inside it!). Or a bookmark. I personally added this label in the lower right corner of my front cover.
Here it was, a rather rudimentary guide. But you will see, if you start to do it, once folded, it’s very logical!
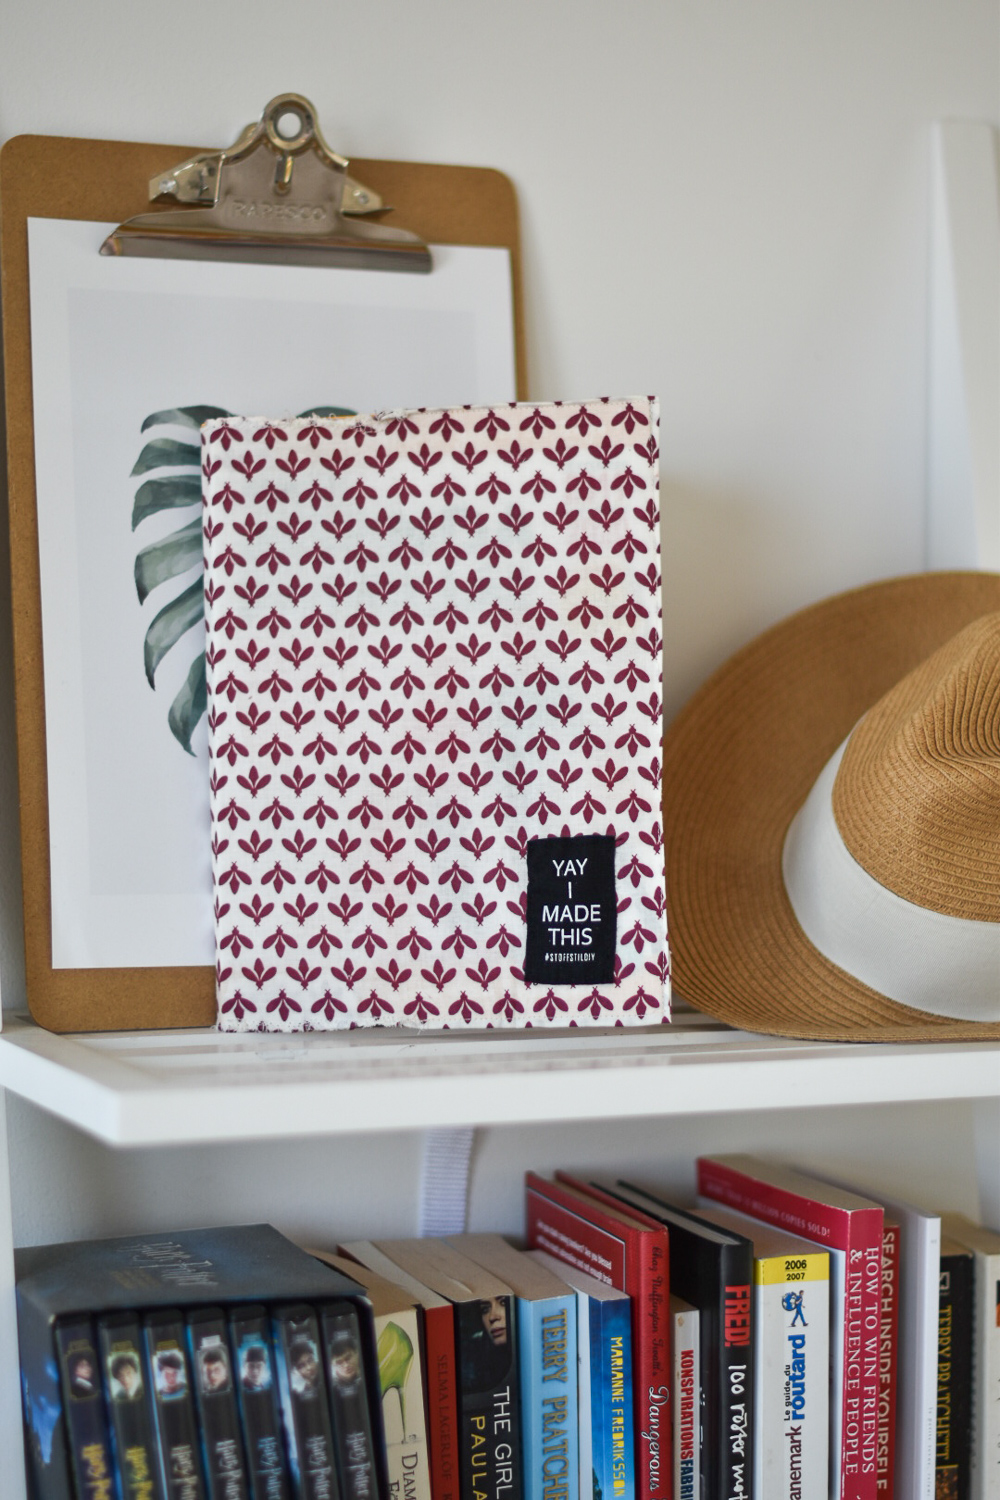
Do not hesitate to show me your little creations! Here is mine in photos below. Thanks for reading me today.
>> Click here if you want to see more DIY projects. <<

